
A paper greeting card can hold a surprising amount of engineering. Fold it open, press a hidden tab, and a tiny speaker plays a melody or a recorded message. The circuit may be no larger than a postage stamp, but the design decisions are real: what produces the sound, where the audio lives, how the button triggers playback, and how to keep the battery safe inside a thin card.
The easiest way to understand the project is to separate two jobs. A microcontroller or audio chip decides what to play; a speaker turns electrical changes into moving air. Between them, you may need an amplifier, because a chip pin can create a signal without being able to drive a small loudspeaker loudly or safely.
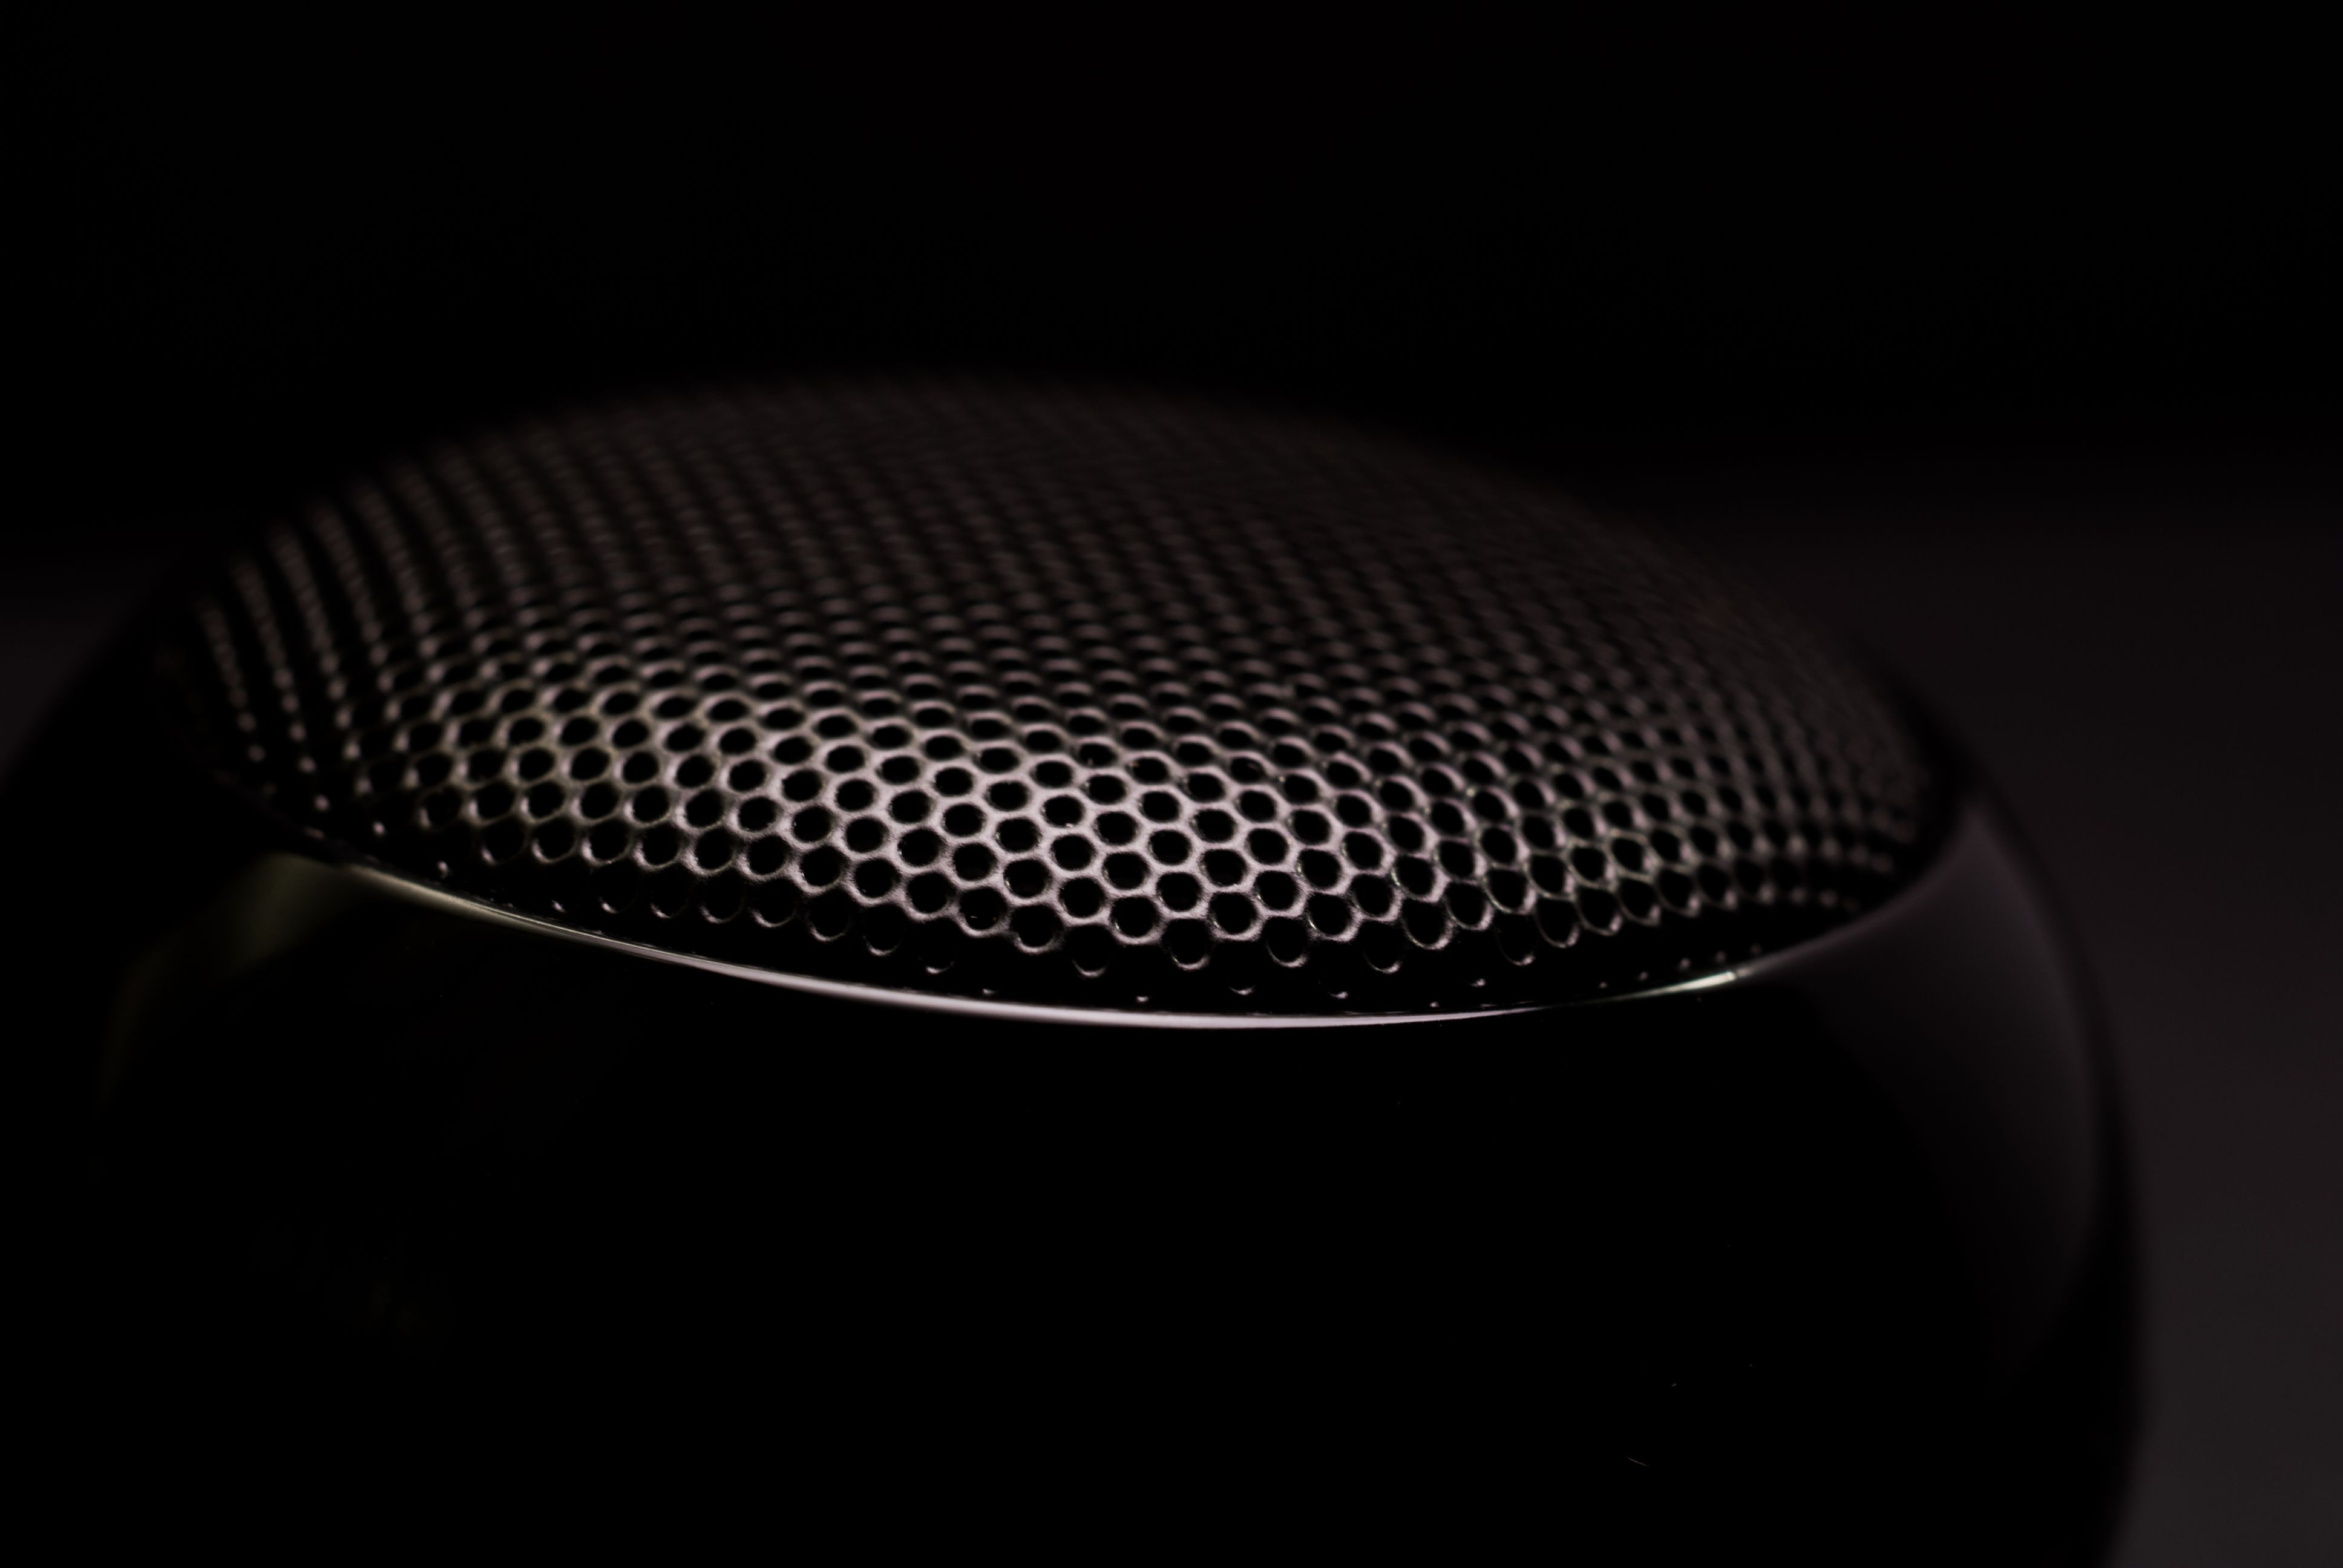
Start by choosing the kind of sound
There are two sensible beginner projects, and they should not be confused.
- A melody card: a microcontroller sends changing frequencies to a piezo element or small speaker. It is inexpensive, compact, and a good first electronics-and-code exercise.
- A voice card: a board stores or receives a digital audio file, then sends playback to an amplifier and speaker. This is the route for “Happy birthday, Grandma” rather than a sequence of beeps.
For a first attempt, I would build the melody version before recording anything. It lets you learn polarity, switches, timing, and enclosure design without also troubleshooting file formats and memory. Once the card opens and plays reliably, upgrading the sound path is much less mysterious.
The visual side matters too. Before wiring, sketch the cover, the speaker opening, the battery pocket, and the place where a finger will press the trigger. If you are designing a polished card rather than a breadboard demonstration, a tool such as this thank you card design can help you plan the printed artwork around the electronics. Leave a serviceable flap somewhere; a beautiful card that cannot reach its battery or switch is a small paper enclosure with a permanent fault inside.
What each part actually does
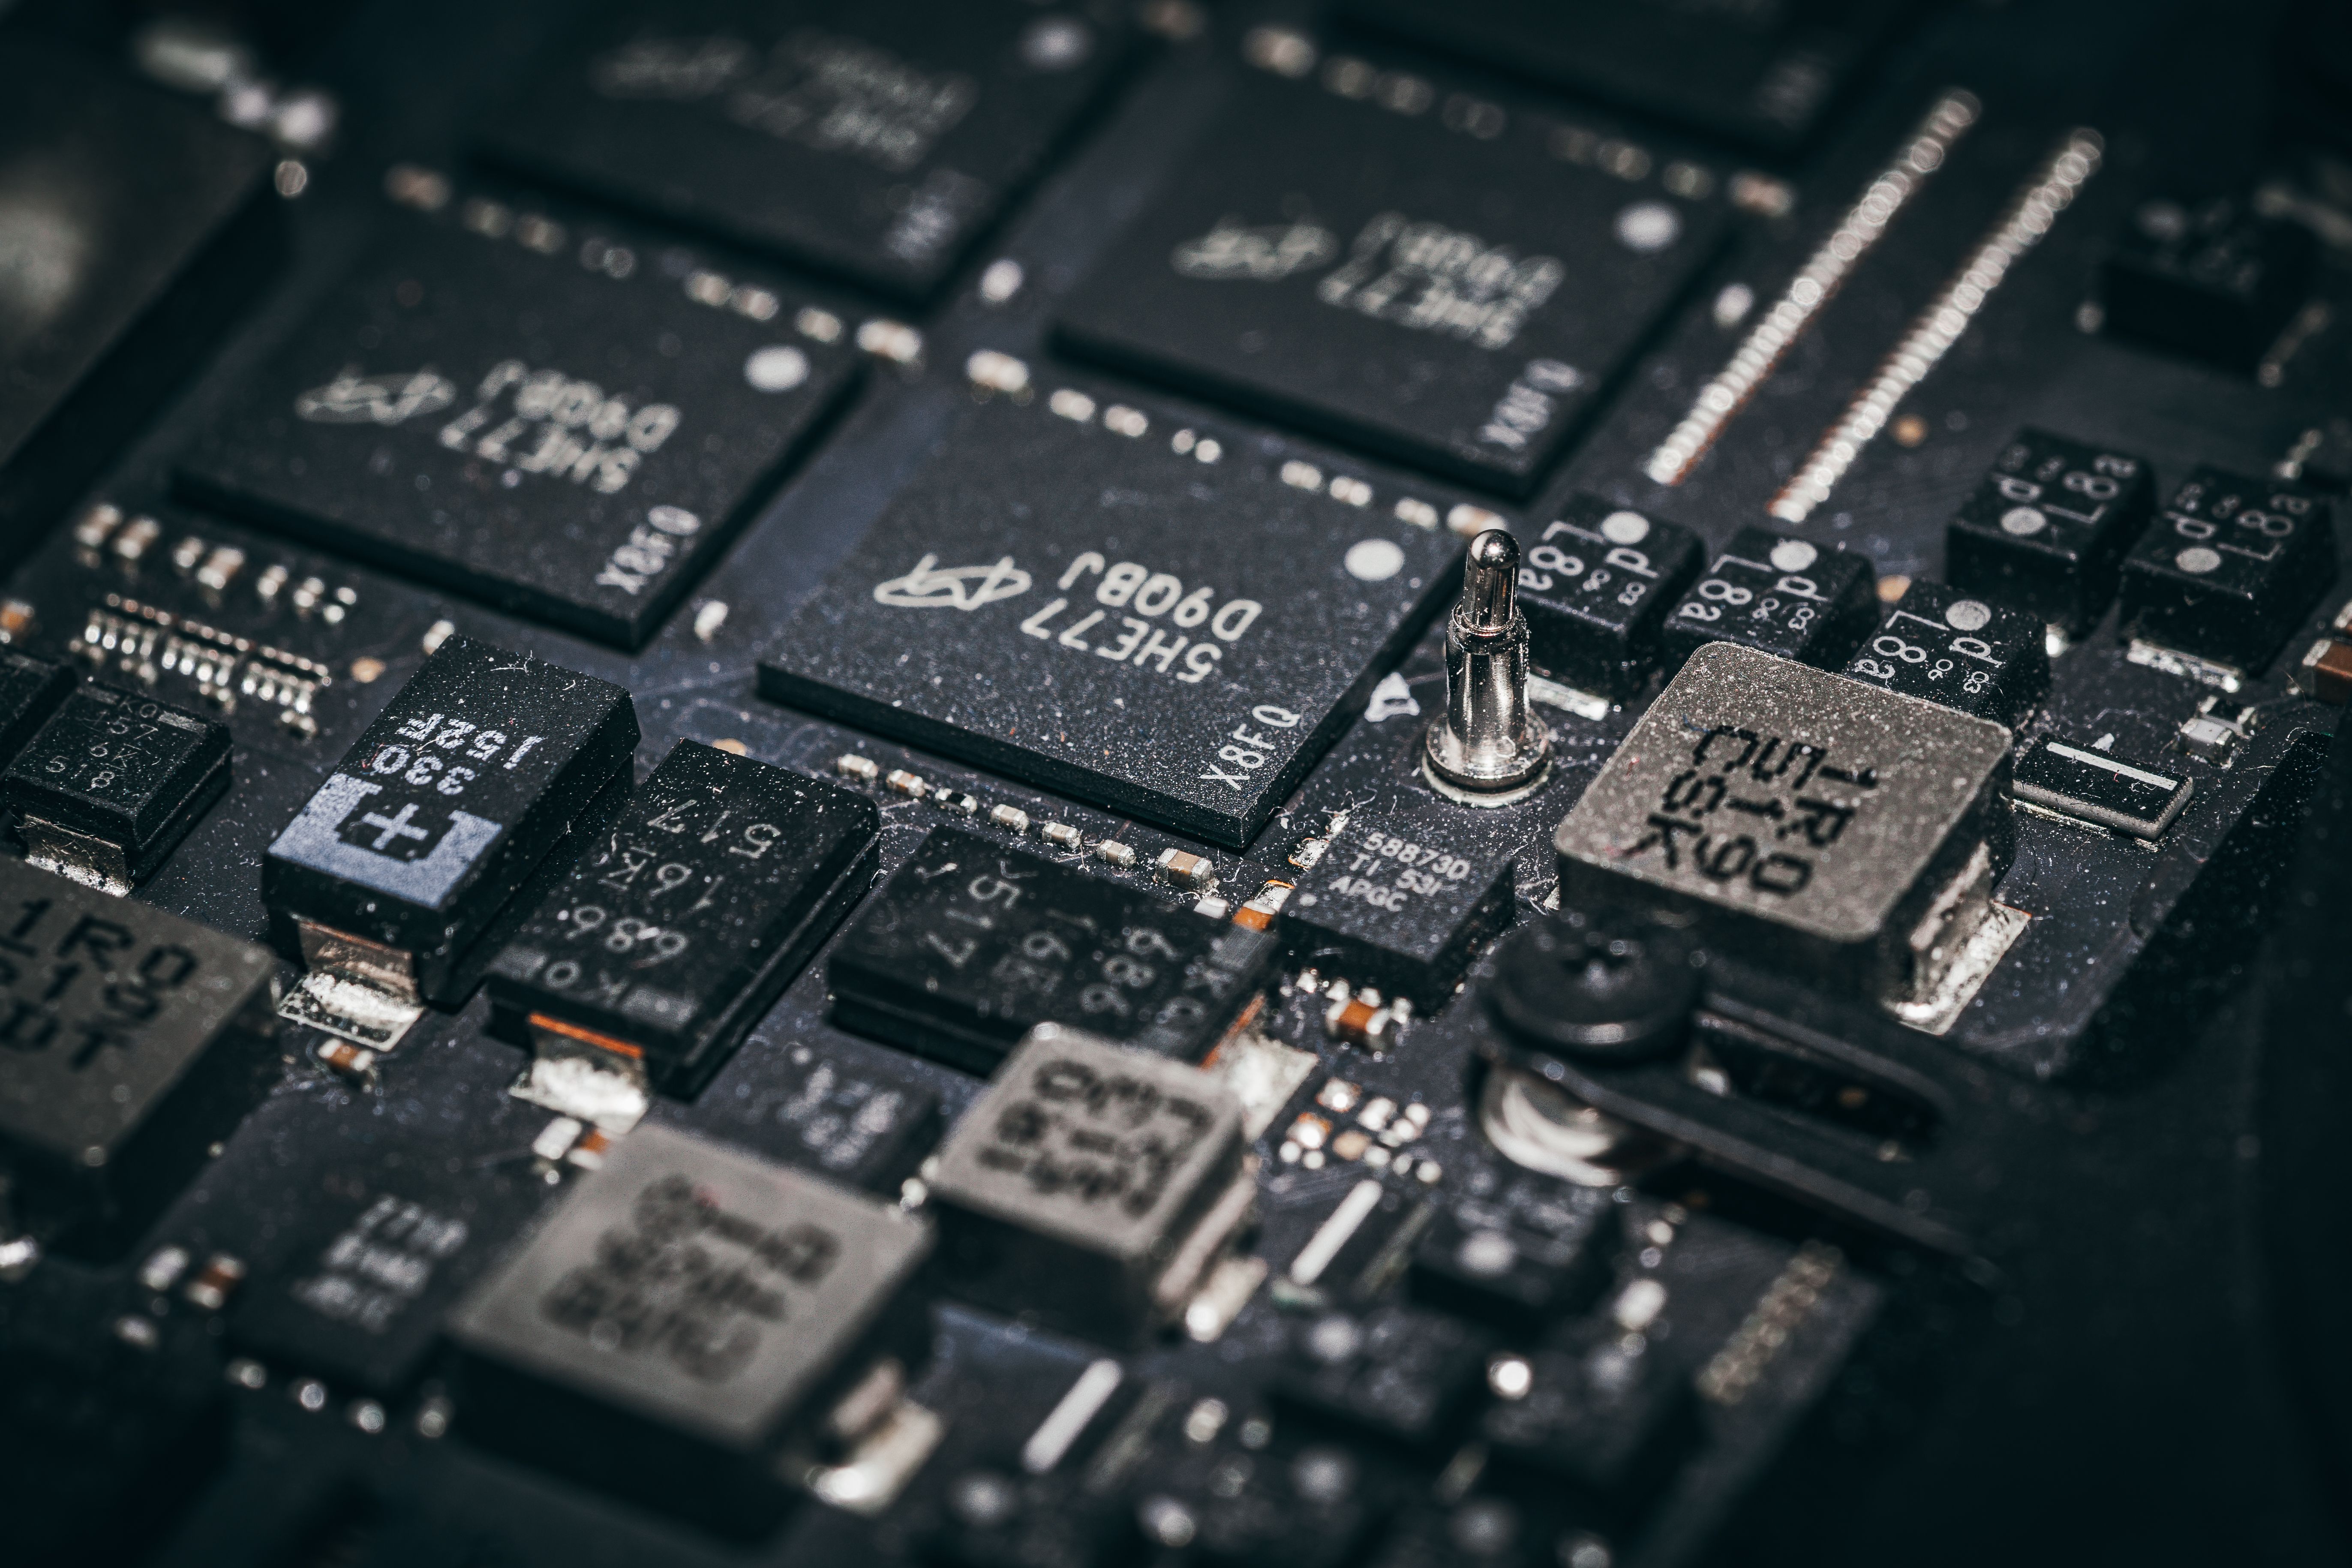
Microcontroller. This is the programmable part. It can watch a switch, wait for the card to open, and generate a sequence of notes. Arduino’s official audio documentation explains that its tone() function produces a square-wave tone, and its melody example uses an 8-ohm speaker on a digital output. That is enough for simple tunes, but not the same as high-fidelity recorded playback.
Piezo element. A piezo speaker uses a ceramic material that flexes when voltage changes. It is well suited to beeps and bright electronic notes. A moving-coil mini speaker sounds more like a conventional speaker, but it generally deserves more careful attention to current and amplification.
Audio playback chip or board. For speech, the board needs somewhere to store the audio and a way to start it. Adafruit’s Audio FX Sound Board, for example, is designed to work without an Arduino, accepts a 3–5.5 V DC supply, and starts files through trigger pins. Its amplified version can drive 4- or 8-ohm speakers; those are the kinds of specifications to check before connecting a speaker, not after.
Amplifier. An amplifier takes a small audio signal and supplies the energy needed by the speaker. Some playback boards include one. Some microcontrollers do not. If your circuit is quiet, distorted, or resets when the sound starts, the problem may be the power and output stage rather than the recorded file.
A practical parts list for the first prototype
Keep the first prototype on the bench, where changing one wire does not require dismantling a card.
- A small microcontroller board for the melody build, or a trigger-based audio board for recorded speech
- A piezo element for simple notes, or a miniature speaker with a compatible amplifier
- A momentary pushbutton, reed switch, or a folded-card pressure switch
- A battery holder and the battery specified by the board
- Hookup wires, a breadboard for testing, and a thin piece of card or foam board for mounting
- A resistor or other protection parts where the board’s wiring diagram calls for them
There is no universal “mini speaker wiring.” Check the board’s output type and the speaker’s impedance. In particular, a bridge-tied amplifier output may have two active speaker terminals rather than a speaker negative terminal that can be connected to ground. Treat the pin labels as electrical instructions, not decoration.
| Build | What it plays | What makes it beginner-friendly |
|---|---|---|
| Microcontroller plus piezo | Notes and simple melodies | Arduino’s tone() example uses a digital pin and a piezo or speaker |
| Microcontroller plus raw audio output | Short sampled sound | More flexible, but audio data, timing, and memory become part of the project |
| Trigger audio board plus amplifier | Recorded WAV or OGG-style effects, depending on board | Designed for button-triggered playback and can include speaker amplification |
The comparison is based on the Arduino audio examples and Adafruit’s documented audio-player approaches. The important pattern is that moving from tones to speech adds storage and playback requirements, not merely a different speaker.
Build the melody before you fold the card
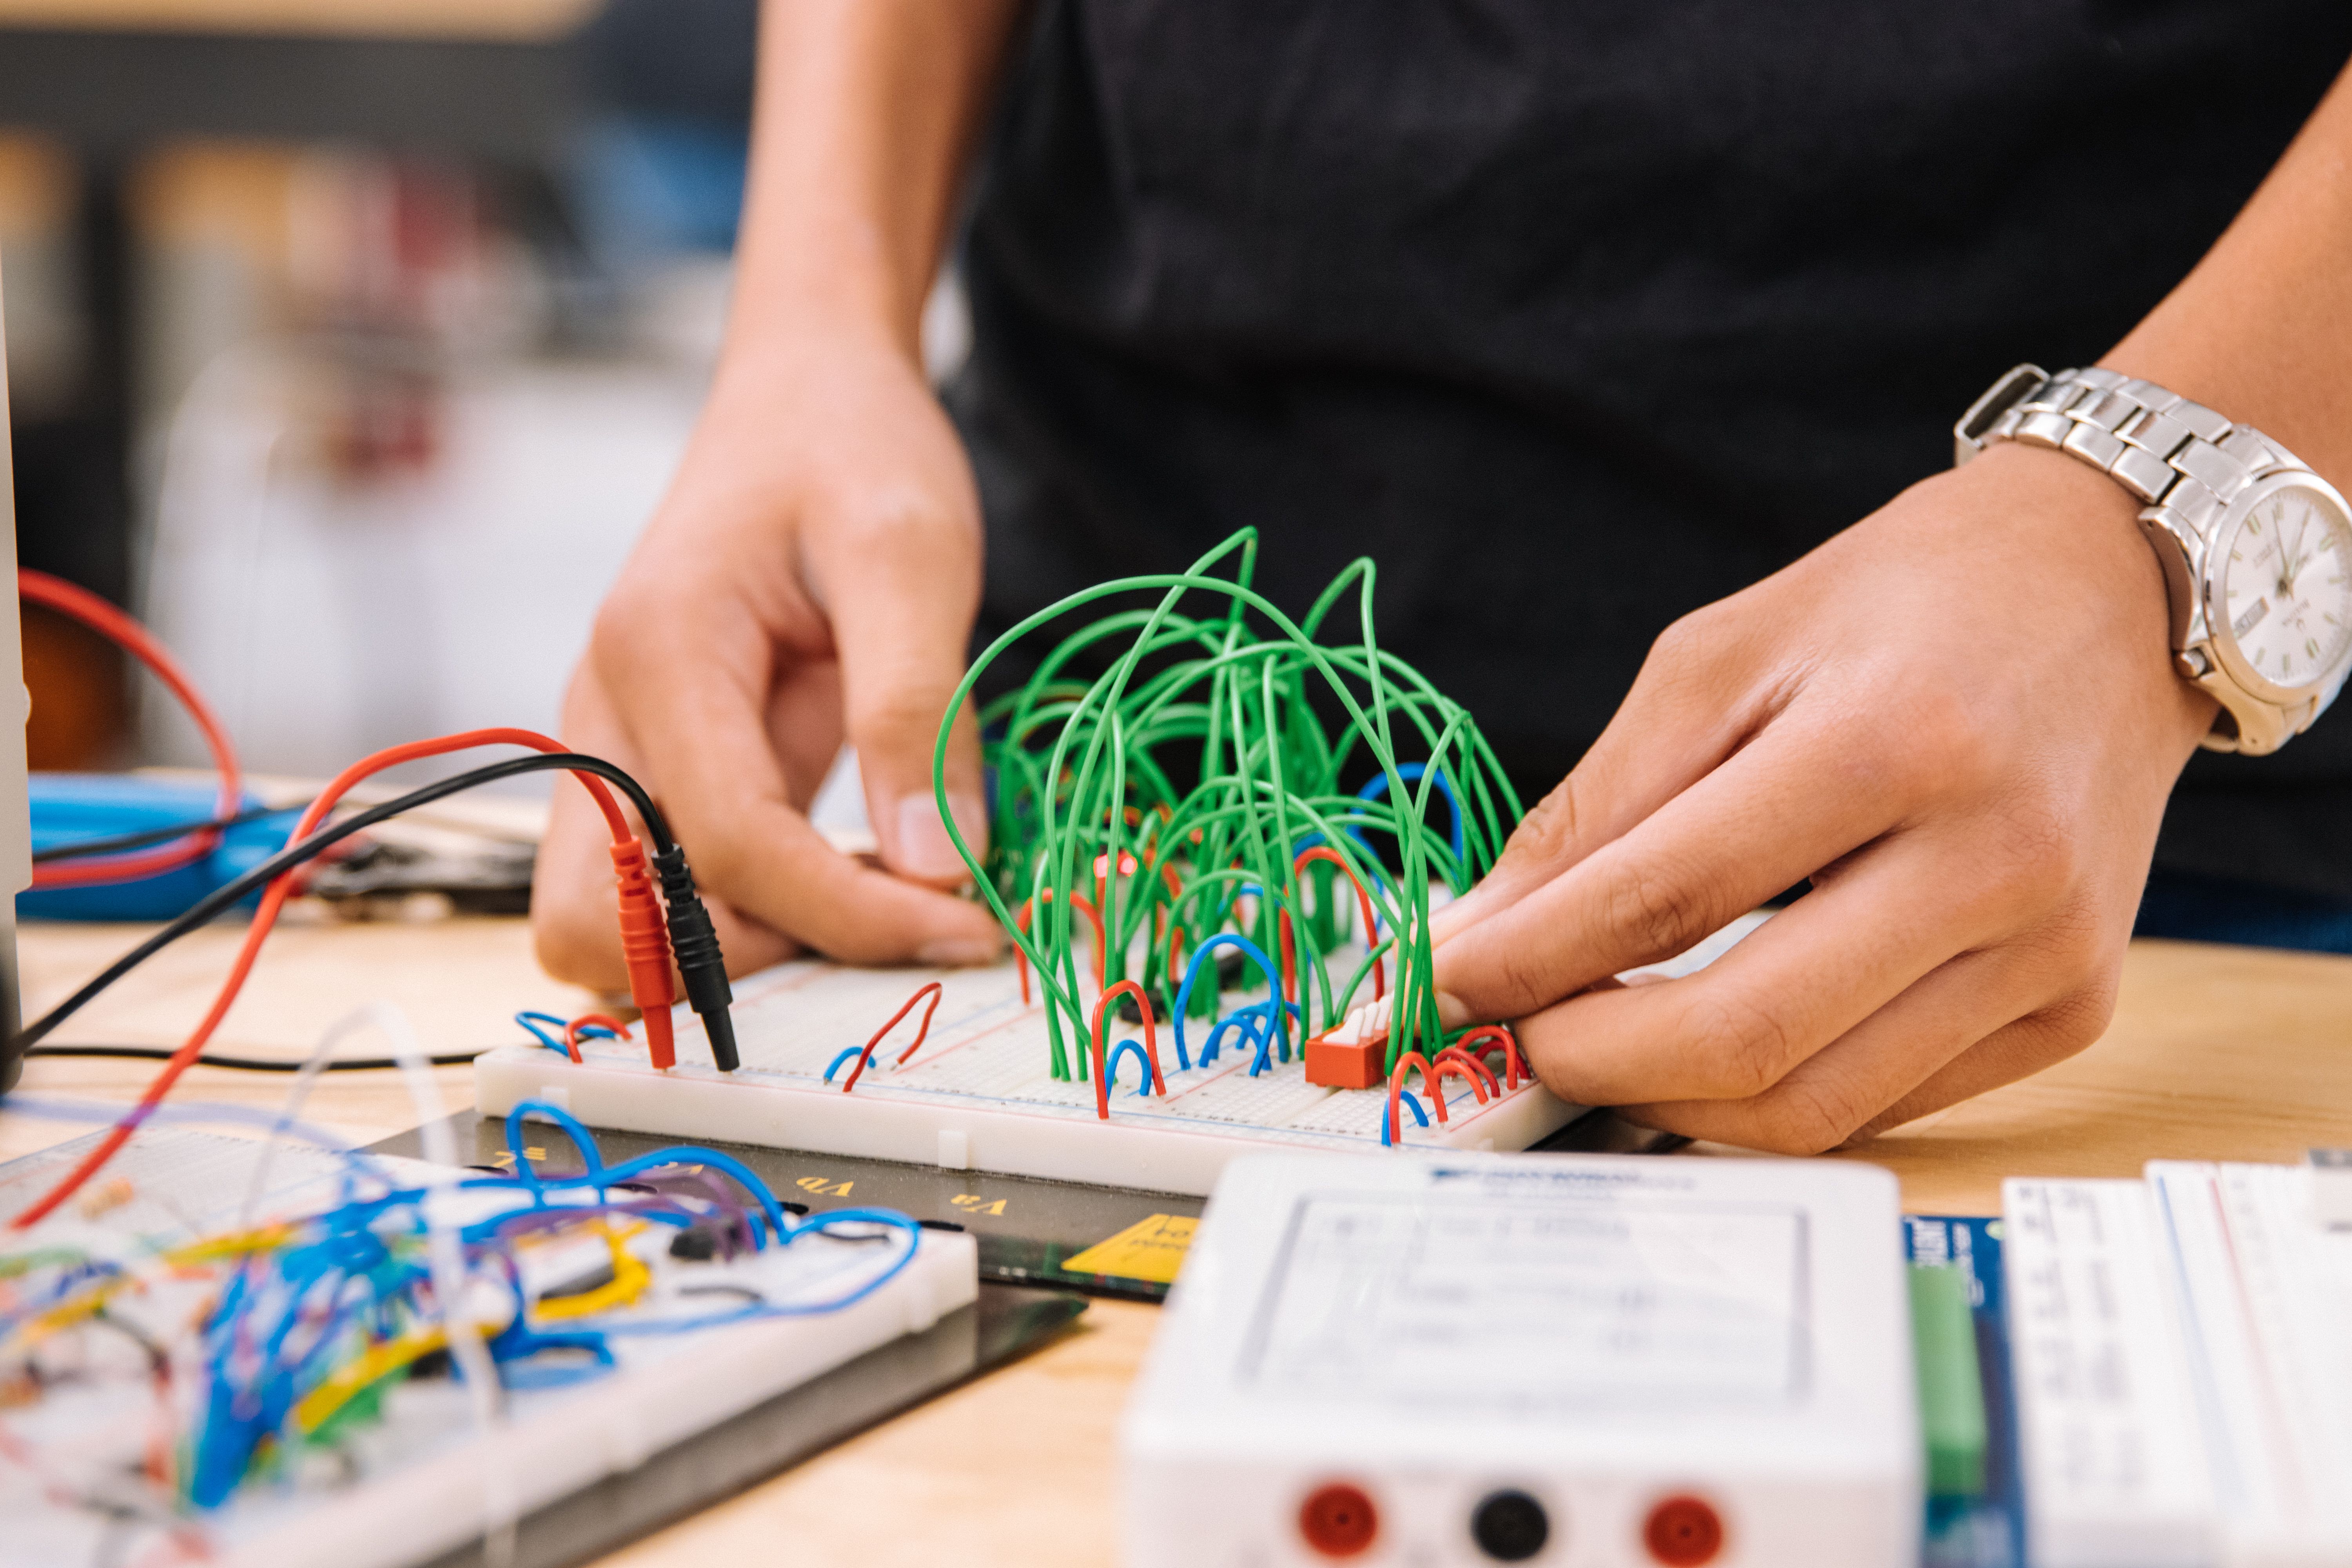
Wire the pushbutton so the microcontroller can detect a clear pressed and released state. Connect the piezo or supported speaker to the output described by your board’s example. Then upload a short test sketch rather than a full song.
const int speakerPin = 8;
const int buttonPin = 2;

void setup() {
  pinMode(buttonPin, INPUT_PULLUP);
}

void loop() {
  if (digitalRead(buttonPin) == LOW) {
    tone(speakerPin, 262, 250); // middle C
    delay(300);
    tone(speakerPin, 330, 250);
    delay(300);
    tone(speakerPin, 392, 350);
    delay(400);
    noTone(speakerPin);
    while (digitalRead(buttonPin) == LOW) {
      delay(10);
    }
  }
}
This deliberately modest program demonstrates the whole chain: a button changes the state, the microcontroller generates frequencies, and the sound device converts them into air movement. The INPUT_PULLUP arrangement also means the pressed button reads low, so the button must connect the input pin to ground. If your board or wiring differs, follow its pinout rather than copying pin numbers blindly.
Once it works, replace the delays with a note-and-duration list if you want a longer tune. Keep the first melody short. A card that plays a clean five-second phrase is more satisfying than one that technically contains thirty seconds of clipped noise.
For recorded speech, let the audio board do the heavy lifting
Recorded audio changes the design in three ways. The sound must be stored, the board must read it at a steady rate, and the output must be amplified enough for the speaker. A tiny microcontroller can do some of this, but a dedicated trigger board is usually the calmer beginner choice.
Prepare one short, clear recording and test it through the board before mounting it. Keep the speaker opening unobstructed by glue, thick card, or foam. If the message sounds muffled, moving the speaker grille and changing the enclosure often helps more than increasing the volume.
Do not assume that “more watts” automatically means “better card.” The enclosure is thin, the battery is small, and the listener is usually close to the card. A clean voice at moderate volume is the target. An amplifier guide from Adafruit notes that some compact class-D boards can deliver watt-level output to 4- or 8-ohm speakers, but that does not mean every microcontroller pin or coin cell can supply the same load.
Mounting, soldering, and the faults that appear late
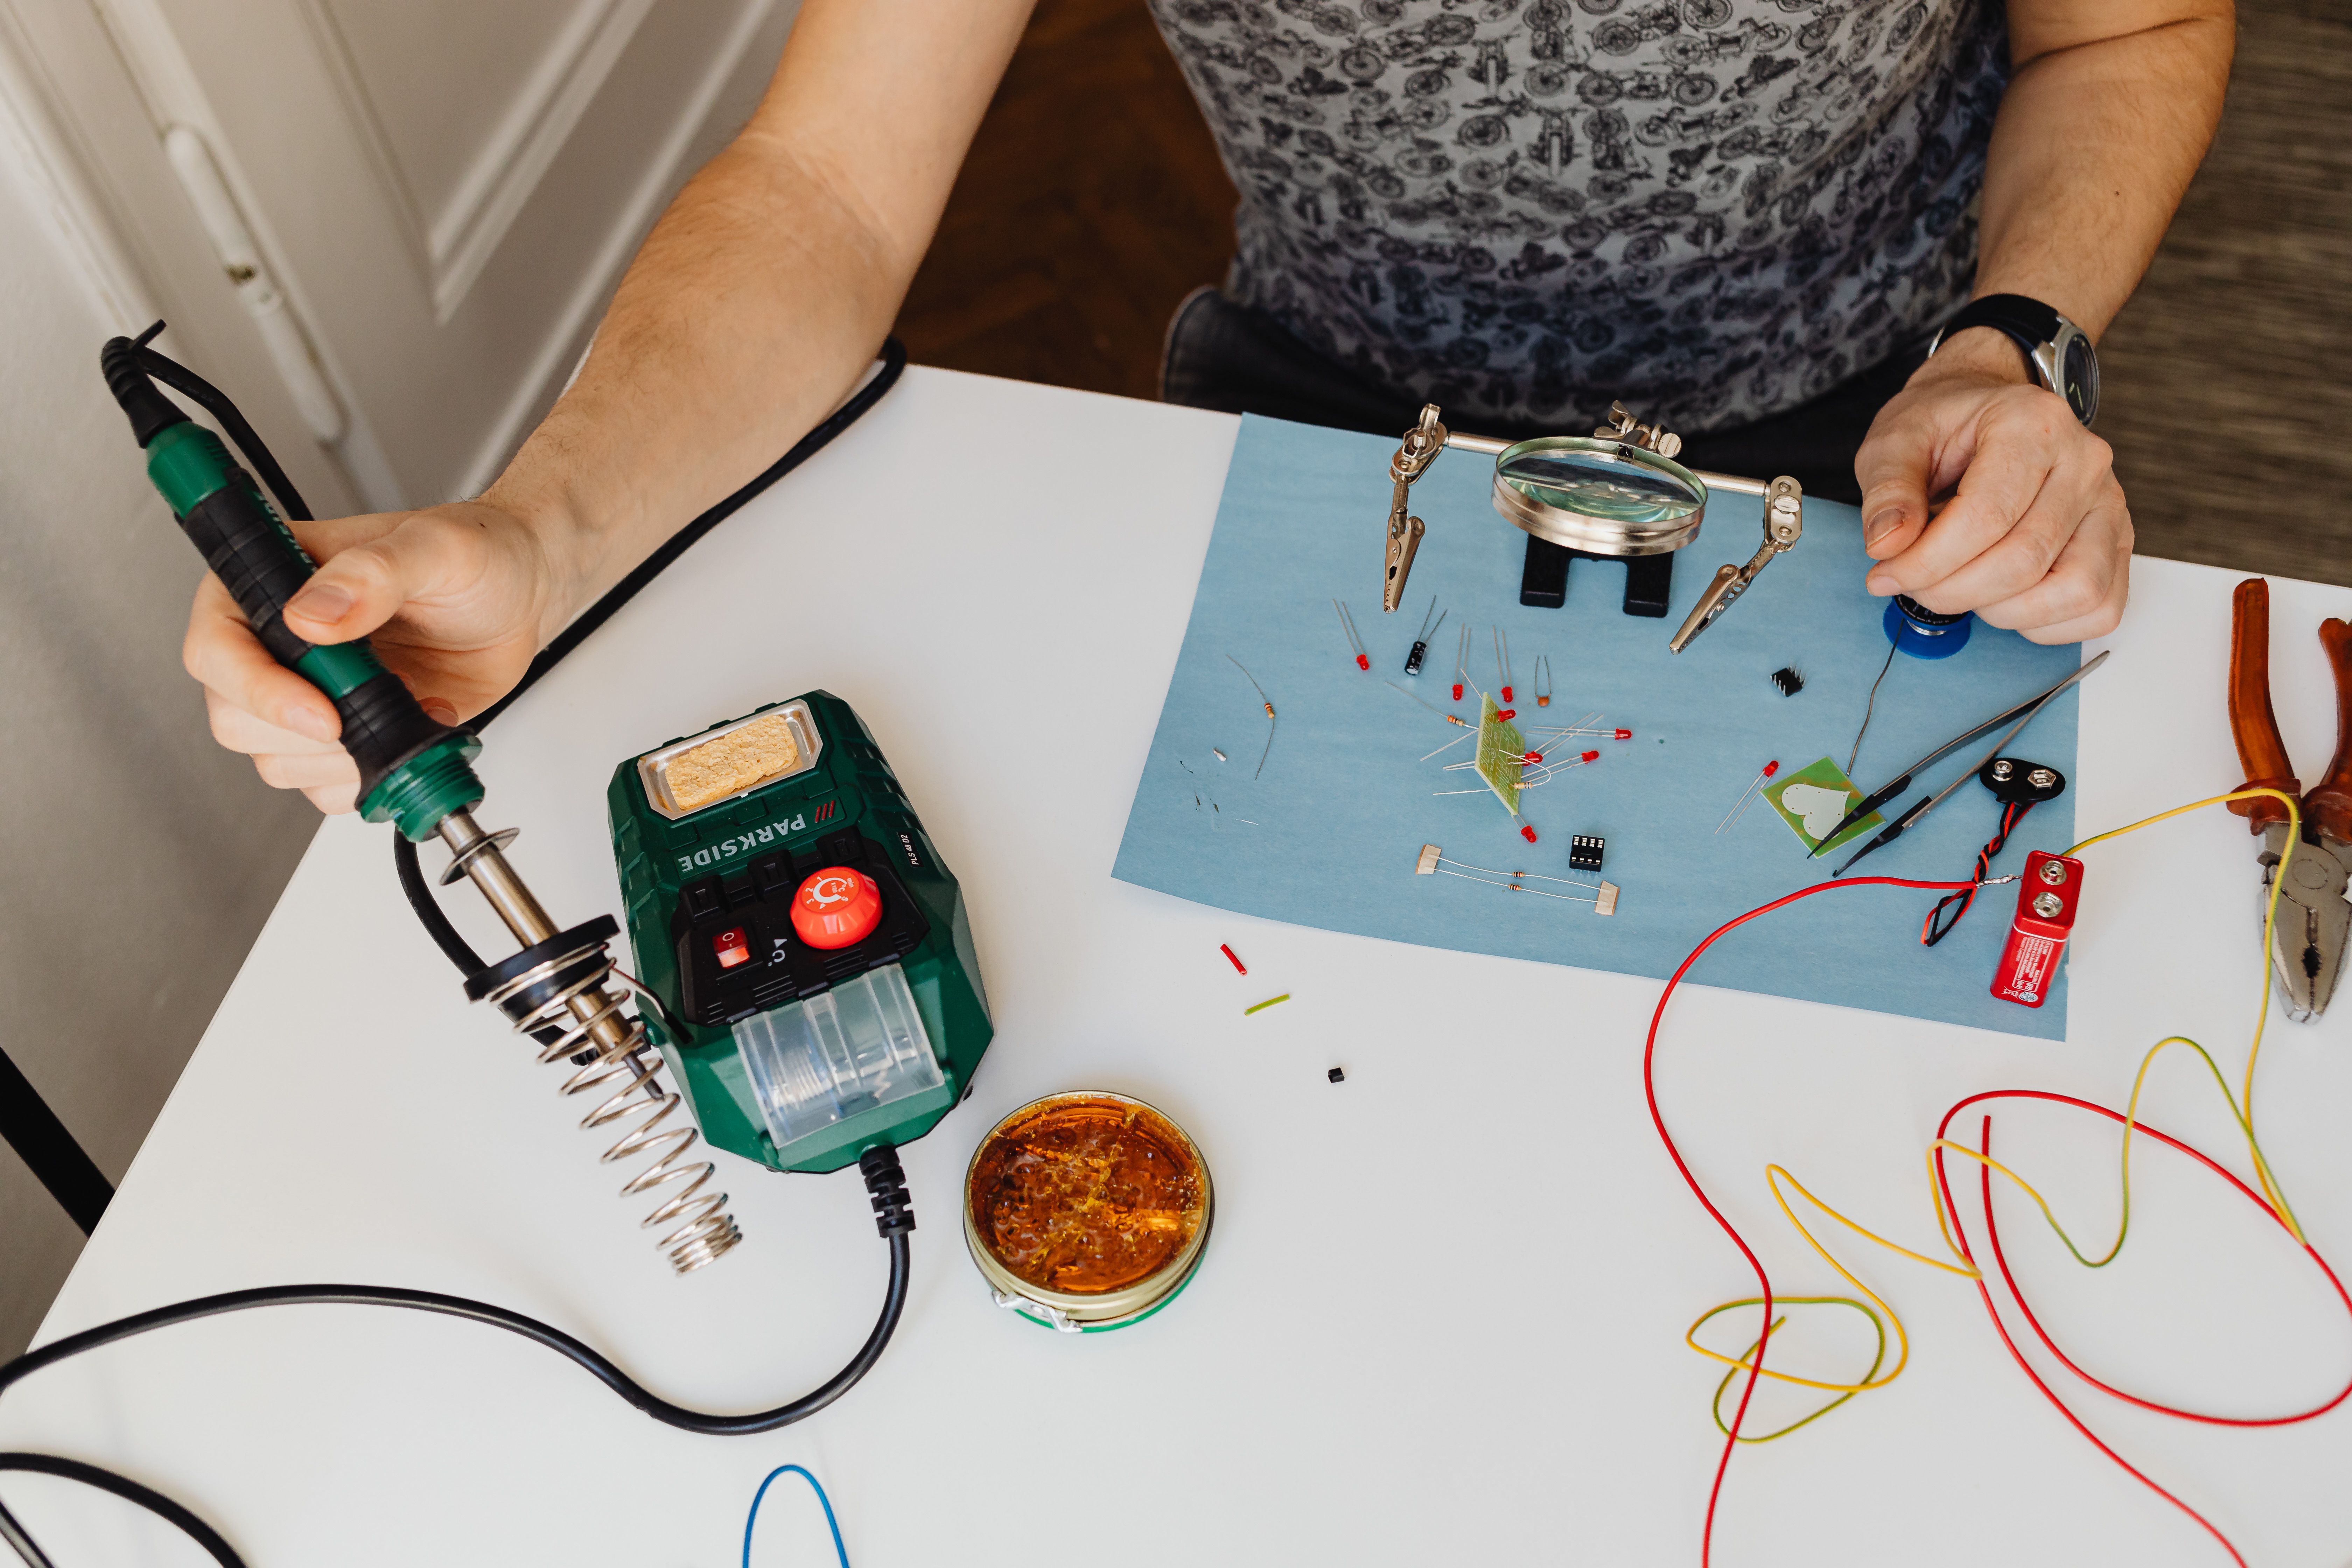
Use a scrap card as a drilling and folding test. Mark the speaker opening, switch position, and wire routes before applying adhesive. Secure the board so it cannot flex against solder joints, but leave the battery accessible for removal.
Common failures are wonderfully unglamorous:
- No sound: check the battery orientation, shared ground where appropriate, trigger logic, and whether the board expects a piezo or amplified speaker.
- Clicks or distortion: reduce the volume, check the speaker impedance, and look for a weak battery or a loose connection.
- Repeated playback: the switch may be bouncing or the program may not wait for release. Add a short debounce period and require the button to be released before allowing another trigger.
- Works on the bench, fails in the card: the fold may be pinching a wire, the speaker may be covered, or the battery holder may be losing contact when the card bends.
Battery safety is part of the design
A greeting card is often handled by children, which makes a loose coin cell a serious design issue. Energizer’s lithium coin-battery safety information warns that a swallowed battery can cause severe injury quickly, and its safety data also notes that prolonged short circuits can generate significant heat. Do not solder directly to a coin cell, leave a bare battery loose inside the card, or make the battery pocket accessible to a child.
Use a proper holder, insulate exposed contacts, prevent the battery from being crushed by the fold, and remove the battery before discarding or mailing the card. If a card is intended for a young child, the safest choice may be to keep the electronics in a sealed, adult-supervised enclosure rather than treating the project as a toy.
The satisfying version is the one you can repair
Make the first card modular: a small connector for the speaker, a reachable switch, and a battery compartment that opens without tearing the artwork. Label the battery type inside the card. A greeting should be sentimental; troubleshooting it should not require archaeology.
Once the melody version behaves, choose whether the message deserves a dedicated audio board or whether a few notes are the charm. My preference is usually the simpler circuit. The listener remembers the moment the card speaks, not how many chips were hidden behind the paper, and every part you omit is one less failure waiting inside the fold.
The best homemade audio cards are not miniature consumer electronics. They are small, deliberate surprises: a clean trigger, a recognizable sound, and just enough engineering hidden behind the page to make the opening feel like magic.